Become an AAID Fellow or Associate Fellow
Establish Credibility & Trust with Your Patients
When patients are considering dental implants, they want a dentist with experience and knowledge, and someone they can trust. That’s why they choose AAID-credentialed dentists.
By earning your Associate Fellow or Fellow credential, you will quantitatively show your patients that your dedication to the profession ensures the following:
1. Providing optimal patient care is the heart of the AAID’s mission.
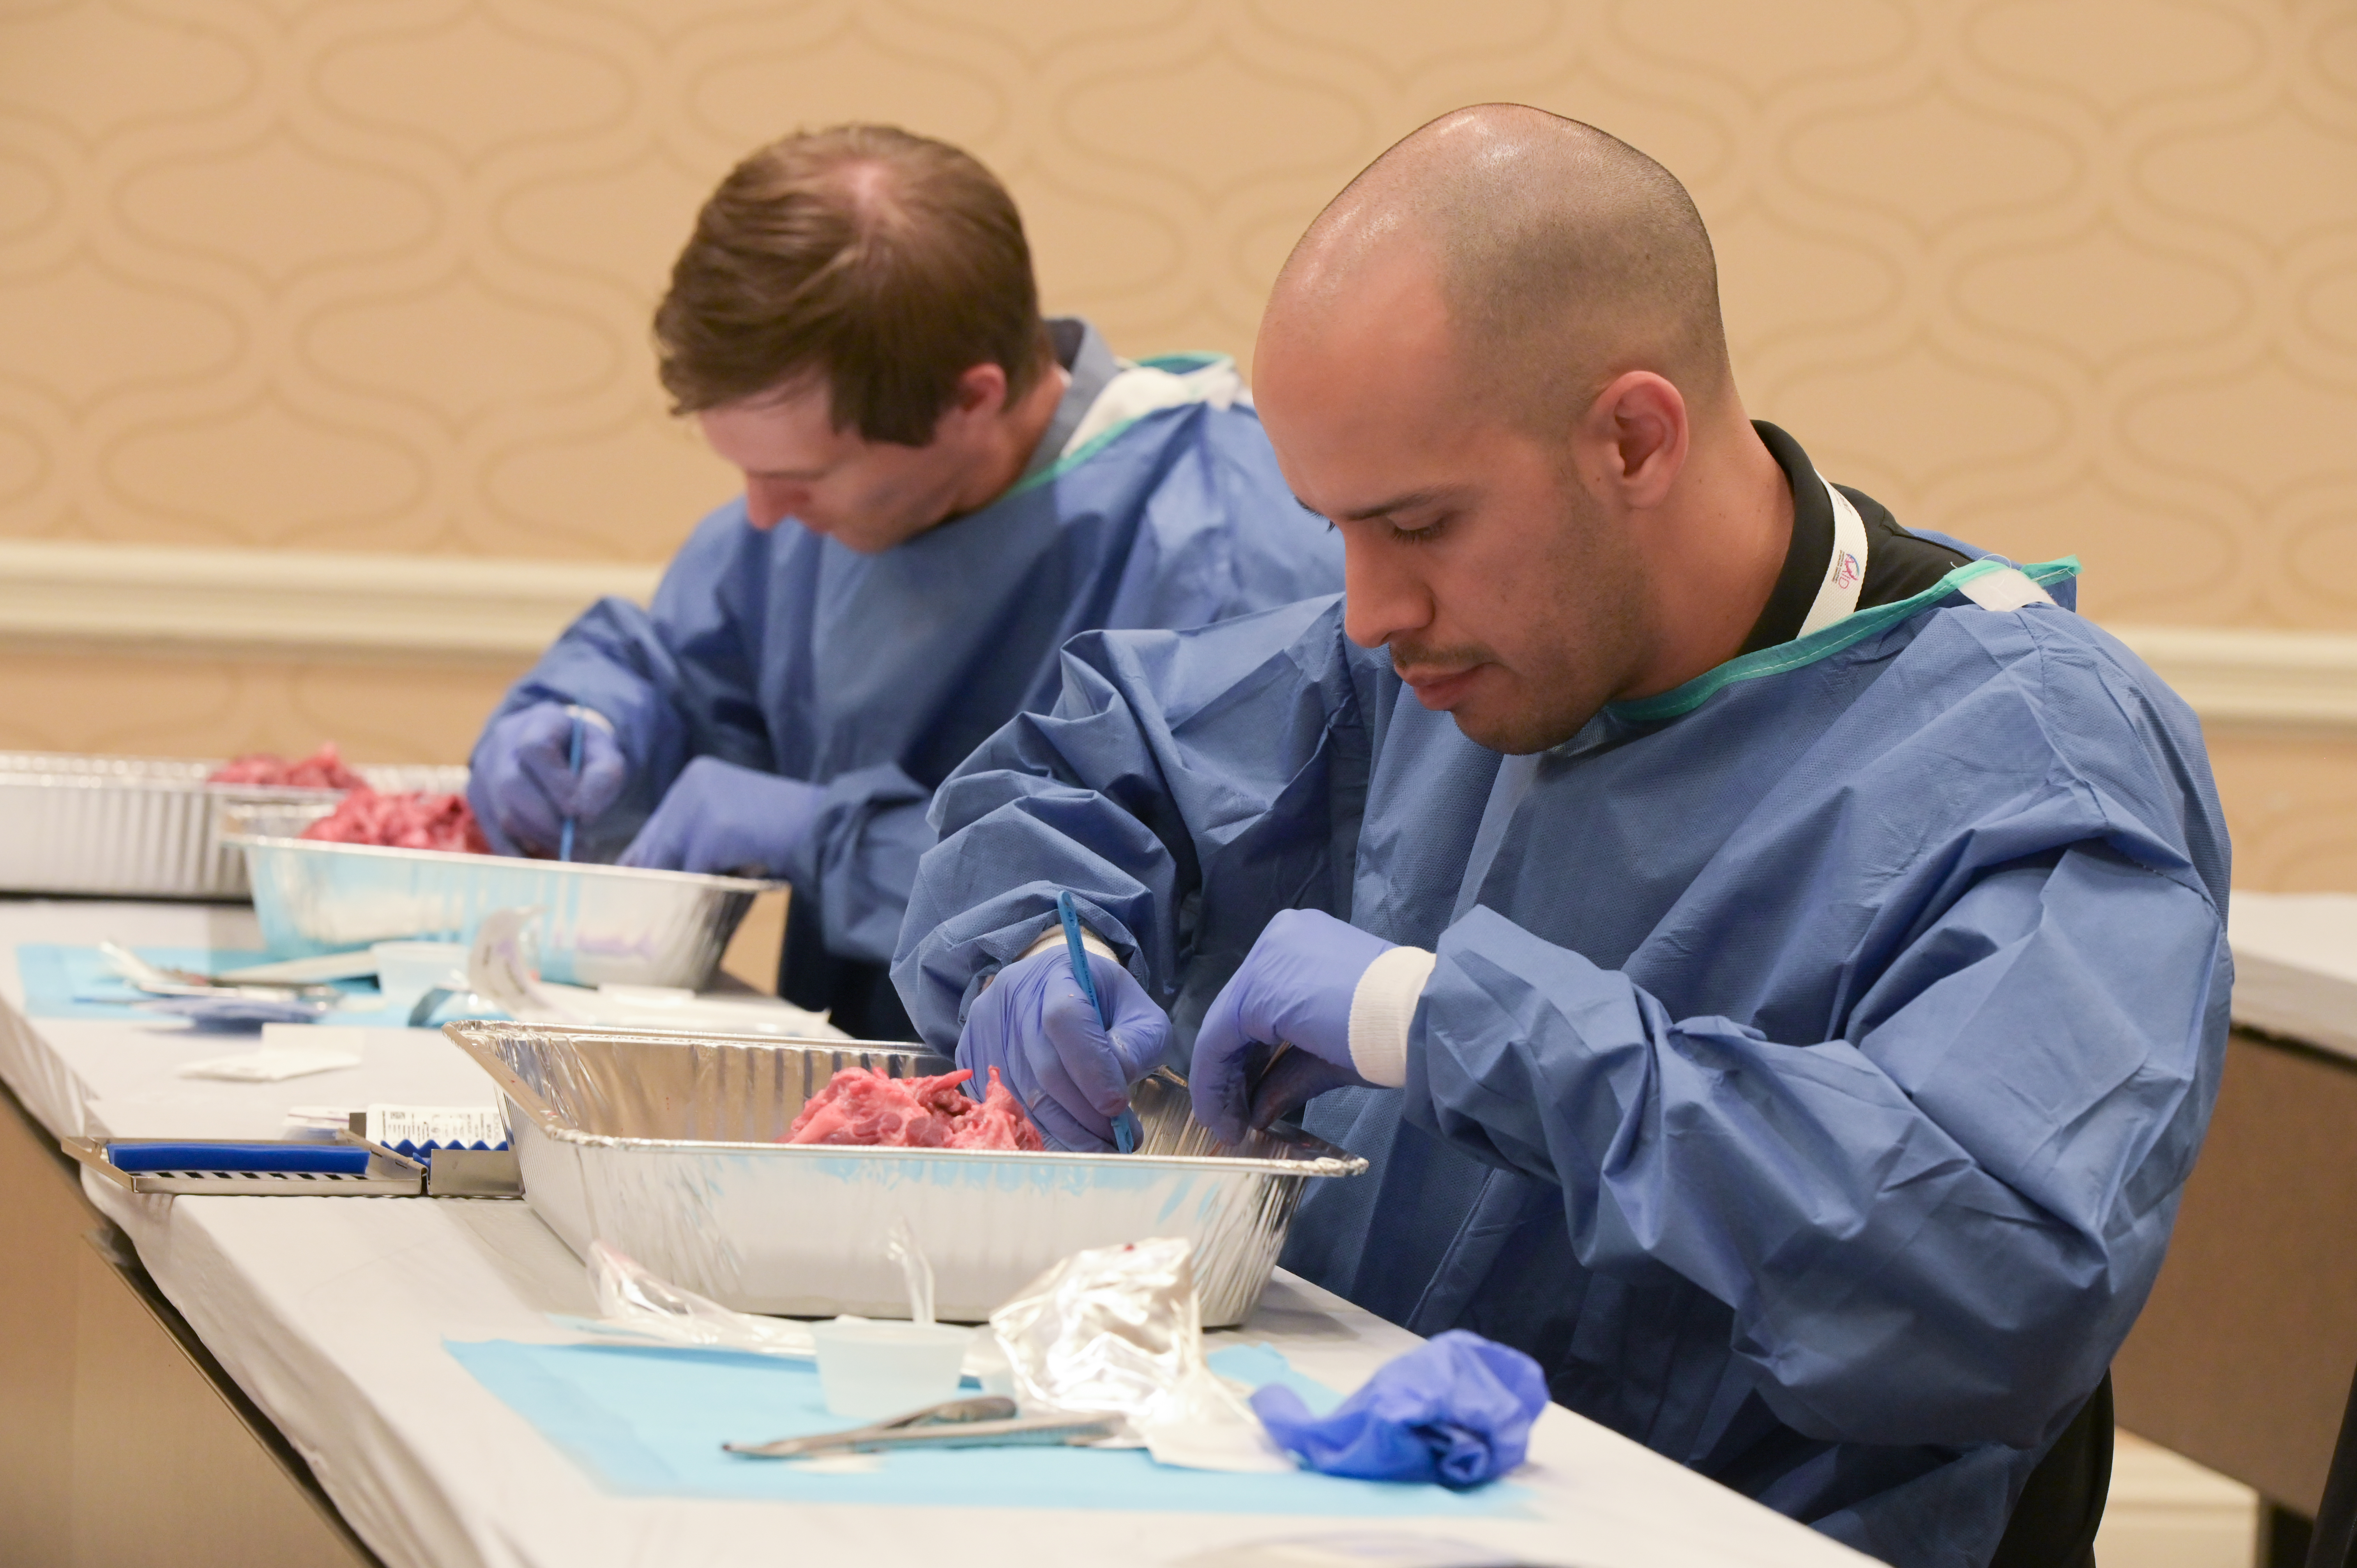
For nearly 70 years, the AAID has been training implant dentists in the techniques necessary to become skilled in providing implant care that enhances quality of life for your patients.
2. AAID credentials enhance trust and credibility within the dental profession.
Membership and involvement in a professional association like the AAID demonstrates dentists’ commitment to their field—in the eyes of both patients and peers. The willingness to invest the time and energy required to earn AAID credentials takes this professional commitment and credibility to the next level.
 3. AAID-credentialed dentists are qualified to provide the treatment you need.
Dental implants are complex, sophisticated devices that require deep knowledge and specialized expertise to fit and place properly, and every treatment needs to be customized to the unique needs of the patient. AAID-credentialed implant dentists expertly evaluate patient needs and design personalized treatment plans to ensure the best chances of success.
4. Consumers look to AAID to help them select their dentist, and only AAID-credentialed dentists are featured in the “Find an Implant Dentist” search results.
Each month, more than 6,000 consumers visit aaid-implant.org an informational site designed to help educate the public on the value of dental implants and the importance of selecting an AAID-credentialed dentist for their procedures. Earn your credential and be included in this popular directory!